Pages

Showing posts with label DIY. Show all posts

Monday, June 10, 2013

Sew Easy: DIY Burp Cloths

Happy Monday!
Long time, no blog.
April and May were really busy. 
There was only one weekend when I wasn't traveling or hosting out of town company
and those are the busiest months at work.
So, needless to say, blogging wasn't at the top of my priority list.
Lately though, I've downshifted (and plan on staying that way until Baby Battles has made his debut). I'm done with work  (woo- hoo!) other than helping out at summer camp a couple weeks.
I'm hoping to blog more over the next couple of months as I definitely want to document this time in our lives.

Today, I wanted to share a little sewing project I just finished up,
DIY burp cloths.


I just took the standard Gerber cloth diapers and
sewed some cute fabric and trim down the center to dress them up. 
Easy peasy and I think they turned out pretty cute.

I'm in my last month of sewing classes now,
and working on a sweet day gown for my little man.
I'll be sure to share when I get it finished up.

Have a great week!


Tuesday, December 4, 2012

Christmas Crafts

Hello y'all!
I can't believe December is here!
In honor of the Season, I'm sharing with you a few Christmas crafts I've done recently.
All three of these ideas came from Pinterest. You can follow me here.

The first is for my big a Christmas dinner I'm hosting.
I made placecard holders from dollar store ornaments,

Here's how they turned out.


I will redo the actual placecards before Christmas dinner.
I just busted some out real quick to give you an idea.

Here's a close up.


I think they turned out cute.

The second one doesn't really constitute a craft, per se.
But, I had been looking for a way to display Christmas cards as they came in 
and saw this idea and thought it was easy perfect.


Simply using clothes pins to hang them on the garland on the banister.
Already had the clothes pins. Already had the garland.
Win, win.

This third one, is so easy it doesn't really qualify as a craft either.
and I thought I'd share.

I needed a centerpiece that was substantial enough to fill my 
8 foot long dining table,
but easily moveable whenever I have company over.
This is what I did.

First, get a tray.
I got this plastic one from the Dollar Store.

 This is so you can easily move the centerpiece once its assembled.

Next, put a wreath of your choice on top of the tray.
This one was a plain one on sale at JoAnn's,
and I added the  floral picks myself.


Then get a footed bowl or candle holder.
I got this one at Marshall's for less than $20.00.
(I saw a similar one at Pottery Barn recently for $45.00!)
I didn't mind spending a little money on this because I know it will get used after the Holidays
for a jewelry catch all, potpourri dish, etc. 


 Put your bowl/candle holder in the center of the wreath.
Next add a candle...


Tada!
Easy layered centerpiece.


I'm linking up with Cassie for the Christmas Cheer to the Blogosphere
Craft Linky Party!

Holiday
xoxo - Bethany


Sunday, September 16, 2012

Pretty Piped Pillow

Hey y'all!
Today I'm back with a new sewing skill.

Piping!

I made a piped pillow to match my skirted bedside table.


It turned out great!
 So great, in fact, I might have to pipe all my sewing projects from here on out!


Here it is with a peek of the skirted side table.
I think it ties it all together and gives it a more custom look.

This definately won't be my last piped pillow!

This weekend, my mother-in-law, sister-in-law, and nephew came in town to visit
and celebrate my other sister-in-law, Jenny's birthday.
We had a wonderful time getting to visit and 
I am looking forward to the next time we get together.

This coming weekend, we're headed to the Meditterranian!
I'll be back later this week with details. :)

xoxo- Bethany


Sunday, September 9, 2012

Mess to Success :: Refashioned Tunic to Skirt

So awhile back I went to Forever 21 and bought some transitional items for fall 
and a couple of items for our upcoming Mediterranean vacation.
 I have a love/hate relationship with Forever 21, and have for some time.
I love them because their clothes are cheap.
And I hate them because their clothes are cheap.

Case in point:

  I bought this cute tunic for the cruise. 
I paid 13.50. Which is great...


Except the back was ripped. I'm not sure if this happened before I bought it and I just didn't notice, or if I bought it and brought it home and this happened when I tried it on.
Either way, it's ruined.

I couldn't return it because I threw away the receipt long before I noticed the rip.
(Forever 21 won't accept returns or exchanges without a receipt. 
At all. No store credit. Nothing, unless you have a receipt.)  

So I decided to make it into a skirt using this 
tutorial I found on Pinterest.

And here's how it turned out after some sewing and sweating and cussing from yours truly. 

 
It's my first garment. :)
It's not perfect by any stretch of the imagination,
but it turned out!

I'm off to sew some more!
Thanks for reading!! :)

xoxo- Bethany


Friday, September 7, 2012

Fall is here!


Even though it's still hot outside,
I've declared it Fall.


I made my first wreath ever,
and honestly it was sooo easy I don't know why I waited so long.
I think it turned out cute!


I also did a little fall tablescape on the dining room table.

I love fall...pumpkin spice lattes, crisp mornings, changing leaves...
I can't wait!

Are you ready for fall?

xoxo- Bethany

Friday, August 17, 2012

DIY Raffia and Vintage Finds Doorhanger


I was at Joann's yesterday buying some sewing supplies
and saw their fall decorations had arrived.

As I was browsing, I saw this doorhanger with bells.
Sorry I couldn't find it on their site to link up.


I thought it was cute and all, but then it hit me..
This would be a great project to use the vintage keys I've been collecting from estate sales.

So, I headed over to the dollar store and got this....


and this...


and came back home and sat down in front of the tv with this...


We bought a new blender and I'm on a smoothie kick.

And watched this...

Has anyone else seen this show? Its like a train wreck...I can't look away.

And simply wrapped the wire coil in raffia holding it with a few dots of hot glue.
Then I tied on a few keys and a rusty old calf bell  I already had.
This is how it turned out..


I think it really turned out cute and I only spent 2 dollars for the raffia and wire.
Plus, it was easy and quick!

I'm linking this post up to Cassie's linky party!

Hope y'all have great weekend friends!

-Bethany


Wednesday, July 18, 2012

Breakfast Room Drapes

Howdy friends! I've been busy...
24 yards of fabric plus lots of sewing equals
new breakfast room drapes!


Because we all love a good before and after...


Excuse all the crap laying around in the before picture.
 I took it back in April when we were moving in.
I'm just keeping it real.

This project was so rewarding!
Mostly because this space was in bad need of some window treatments 
 and its in the heart of the home and can be seen from multiple rooms.

Now for the details...

I loosely based my curtains off of Miss Mustard Seed's curtain tutorial
(minus the ruffle and I used actual window treatment lining whereas she used a sheet).

 I love the fabric I used! I got it at Hancock's on sale for less than $8.00 a yard.
Can't beat that!


I also love the drapery rods that were used. 
They are Allen and Roth from Lowe's.
You can find them here.

I would highly recommend them because you can pick out the finials separately.
Also, they're solid wood and thicker than most metal curtain rods, so they have a more custom feel.
Because they're wood, we bought 2 eight foot long ones and Jason cut them down to fit our bay windows.


Overall, I spent $230. 
I think that's awesome considering I bought 24 yards of fabric!
Not to mention to have the rod and drapes done professionally could have easily cost $1,000!


 Yay for custom on a budget!

-Bethany


Tuesday, July 10, 2012

More Pillows!

Hello friends!
I hope everyone had a great Fourth of July. I sure did!
My parents were in town and we had a great time visiting and grilling out.

Today, I'm posting about a few pillows I made a while ago that I've been meaning to blog about!
(bad blogger)

In our family room we've got some couches that are leather and dark and overstuffed.
Can you guess who made that purchase before we were married? :)


For which, I am very grateful. :)
They are in great condition, just not what I would have picked out had I'd had a say.

Also, notice the raggedy pillows that have seen better days.
Mostly due to a white terrier, who shall remain nameless, that likes to waller on them.

So I made new pillows to replace the worn out ones.
I made sure to use fabrics that would help lighten up the sofas.

Here's how they turned out:


The larger ones were made from a designer remnent, my mom bought me.
(Hi Mom! Thanks Mom!)

I found the dandilion fabric 40% off at Hancocks. 

The larger ones are envelope pillows...meaning two pieces of fabric overlap
 on the back with no fasteners required.

 
The small dandilion pillows I added a zipper under a fold!
This may not seem exciting to you...but in the world of a beginning sewer,
this is HUGE!


Here's one more look!


Make sure you check back later this week for the biggest sewing project yet!
I'll give you a hint...24 yards of fabric were involved!

Have a great day!
-Bethany

Friday, June 15, 2012

DIY Disaster: Lampshade Saga

Warning: This is a long and wordy post. If you just want to see how my lampshade turned out, scroll to the bottom of the page,. If you want the nitty gritty details of how it all went wrong, start reading.

So as we are settling in to our new home, we are excited to be welcoming some of our family to visit this summer. I currently have 2 guest rooms, one downstairs and one upstairs.
Upstairs, I think I have everything a guest would need to be comfortable. 
Downstairs, I decided I needed to add a bedside table lamp to make our guests feel right at home.
And honestly I'm sorry I did because what ensued was one of my worst DIY disasters to date. 

Here's the story:

I decided I needed something cute yet inexpensive.
 And, if you've ever shopped for a lamp you know they can get expensive quick-quick.
So I went to Target. But I wanted something that didn't look like it was from Target.

There were definitely some cute lamps, but then I saw this.


And I thought, "Geez, it's only $16.99 and I could DIY on that shade for a custom look!"
And so it found it's way into my cart.

So I headed off the nearest Jo-Ann.
 At first I thought I would wrap a fabric on the shade to coordinate with the blue and yellow bedding, but nothing jumped out at me.
So then I was wandering the store for inspiration.
(This is dangerous for me. Usually I come to the store prepared with a plan of action. If I don't, I start to overachieve and it can get pricey. For an example...keep reading.)

Then I stumbled across these Martha Stewart stencils.


And I thought, " I can paint the lampshade with these stencils! It will be easy and so pretty!"
I even came home and took pictures to show y'all how easy and pretty was going to be.


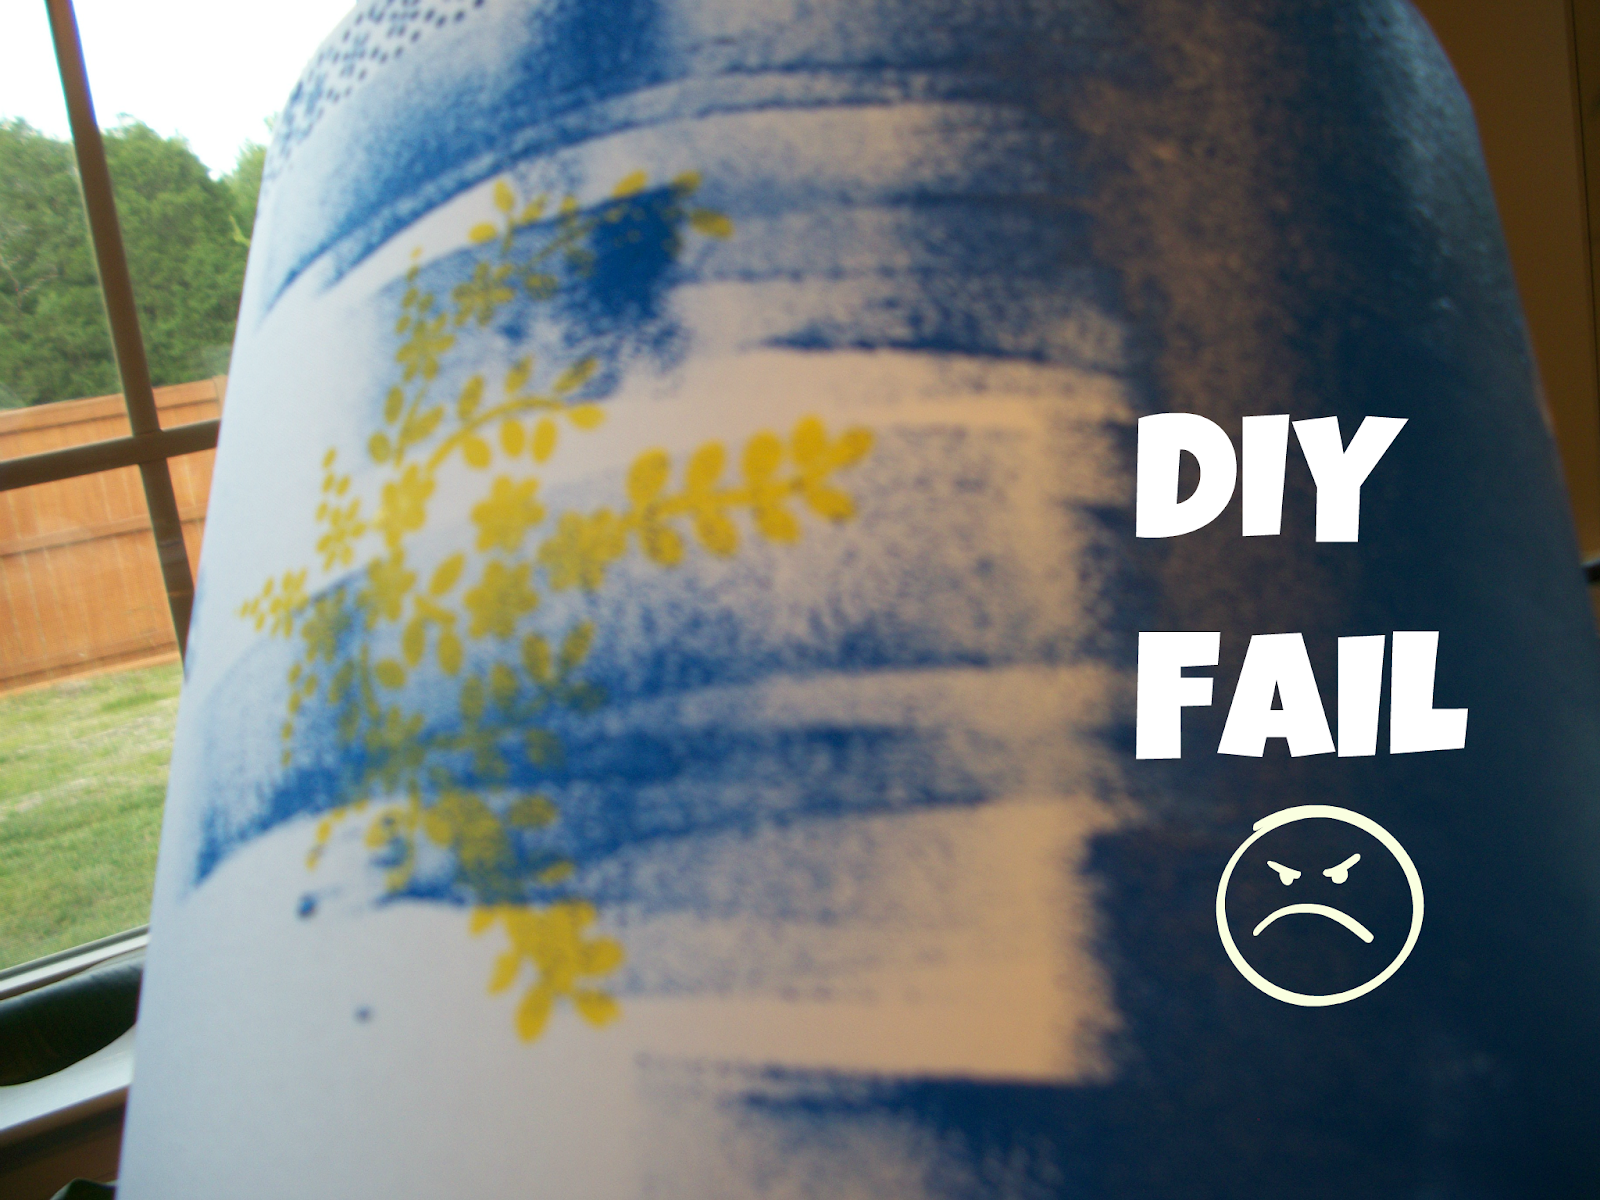
And then I messed up. :(
I smudged some paint and the stencils were hard to line up to make a continuous pattern around the shade.
And then I smudged some more paint.

And then I thought, "I can't put this crap out in my house. Maybe I can just paint it solid to try to salvage what's left of a bad situation."


And so I painted it blue. 
But it showed brush strokes and really needed a second coat but I ran out of blue paint.
And I put it on the lamp and it looked REALLY bad when I turned the lamp on.
 And then I thought, "Now I really can't put this crap out in my house." 
And proceeded to throw the damn thing away.

So then I started shopping for lamp shades.
I found this shade at Wal-Mart  but when I got it home it wouldn't fit on the lamp.
 So I returned it.

I couldn't find the size drum shade I needed for less than $20.00 
and that was more than the lamp originally cost so I couldn't do that.
 Then I read this article on Apartment Therapy.
They made a lamp shade using poster board and embroidery hoops. 
But then I thought, " I can use the metal hoops from the failed lampshade". 
And I dug it out of the garbage and ripped the hoops from the shade.

Then I got some poster board and some clothes pins and started going to town with the hot glue gun.


At this point I'm thinking, " This could actually work! I'm going back to my old idea of using fabric."
Then, I went back to Joann's.

I found some pretty yellow fabric that mimicked the design on the guest bedroom quilt and some white pom-poms (because I saw this shade at PB Teen and LOVED it but sure wasn't gonna pay $50.00).

So after I ironed it out really well,


I used spray adhesive to attach the fabric and hot glue to hold it down inside.


And hot glued on the pom-poms, using clothes pins to help hold it on until it dried.


At this point I'm thinking, "This is so stinking cute! I am a genuis!".
Until I installed that bad boy.


I glued the pom-poms on the top instead of the bottom.
I tried to rip off the pom-poms but the glue was already dry and
 I couldn't get them off without ripping up the whole shade.

So I gave the lampshade a haircut. I trimmed the pom-poms off and just left the ribbon trim on top.

By some act of Providence, I had just enough pom-poms left to go around the REAL bottom of the shade.

And this is how it turned out. Finally!

Do y'all have any DIY Disasters?

-Bethany

Thursday, May 10, 2012

Real Life Pinterest Board


I made a boring bulletin board beautiful.


Its going to be my inspiration/idea board for my sewing space. 
It's basically going to be a "real life" pinterest board. :)

I had seen versions of this all over blogland. I particularly liked Emily's and followed her instructions.

I took a regular ole bulletin board 
(Which, by the way, was harder to find for cheap than thought it would be. I finally settled on one from Target for $12.99)
and taped off the edges with masking tape. 


Then, I sprayed on a coat of this...


Then, I pulled off the tape and put my fabric down. 
I used a ruler like a squeegee to get the bubbles out and smooth out the fabric.
The fabric was very easy to reposition using this spray adhesive.

Then I busted out the plain jane nickel thumbtacks for my faux nailhead trim.
I used a ruler and just eyeballed trying to get the row of tacks straight and even spaced. 
Of course, its not perfect. If you wanted it perfect you might want to pay $15 to $20 and buy a nailhead kit.
But I was going the budget route.

Jason helped me use a staple gun to staple the fabric down on the back side of the board. 
Done! 
Easy peasy real life pinterest board that is going to double as art in my sewing space all for about $30.


-Bethany