Pages

Showing posts with label keeping it real. Show all posts

Tuesday, February 19, 2013

14 week Bump-date


I'm offically 14 weeks today! I feel like the picture above is the first one I've seen lately that I look pregnant and not just like I've been eating too many cookies. Jason took it last night because I actually had makeup on, although I had just gotten rained on so that's why my hair is all frizzy.

How Far Along? 14 weeks
Size of Baby? The size of a lemon...approximately 3and 1/2 inches from head to rump and 1and 1/2 oz.
Maternity Clothes? Maternity pants are too big on me, but my regular pants are too small, so I'm using a belly band to keep my unbuttoned/unzipped pants up. Wearing maternity tops, or tunics with leggings mostly.
Weight Gain?  I don't know. We don't own a scale and I can't decide if I want to buy one or not. I want to be aware of my weight but I don't want to worry about it. So we'll see. At my 12 week appointment I had gained 2 pounds...and I feel like I may have gained a pound or two since then. So 3 to 4 in total?
Stretch Marks? No. Everything I've read says these are genetic, and my mom doesn't have them. I'm not taking any chances though and slathering on Burt's Bees Mama Bee Belly Butter and Body Oil daily.
Gender?  Don't know yet!
Sleep? Sleeping well with vivid dreams nightly.
Food Cravings? First trimester all I wanted was carbs and fruit. And lots of cereal. Meat is now sounding more appealing, but I've also been craving sweets. We're having chicken tacos for dinner tonight because it sounded particularly good. That's kinda how its been -eating what sounds good that day- even if it entails daily grocery trips. I have been mindful to ensure I'm getting dairy, fruits, veggies, and protein daily.
What I Miss? Coca cola and coffee!! I'm allowed one cup of coffee a day which doesn't really cut it but I've been really good so far and haven't cheated at all. I haven't had a caffeinated soft drink since I found out I was expecting but do allow myself the occasional ginger ale or sprite.
Symptoms? The fatigue has lifted some but I'm still waiting on this supposed "burst of energy" everyone says is coming. Breakouts, constipation, nasal congestion...fun stuff. I have boobs for the first time ever which is pretty cool...it's a shame my tummy is starting to outshine them. Just keeping it real.
Belly Button? It's getting more shallow...
Best Moment of the Week? Moving the guest bed out of the soon to be nursery and setting up the crib! Also, I bought the first piece of baby clothing! Just wait until I find out the gender!

xoxo - Bethany

Sunday, November 11, 2012

Drinking it up!

This year, I  lost my mind and
volunteered to host Christmas dinner for our extended family.
Both Jason's side and mine;
so I'm expecting 12 adults and 5 kiddos.
I'm really getting excited about hosting and working out the anxiety I was feeling.


Along with getting excited, I'm starting to make lists and plan what I need to pull this off.
Luckily for me, my amazing Nana bought me 8 place settings of the Lenox Holiday China.
Along with what I already had, and a couple of additional plates I'm going to get,
I will have enough for the 12 adults.

But, I didn't know what drinkware I was going to use to serve iced tea or water in with dinner.
That is until, the heavens opened up and God smiled upon me at the dollar store last week.
 I was there to buy the Operation Christmas Child gifts,

 For a dollar a piece?! I'll take 12!!
Just like the iconic Reluctant Entertainer,
it really is the small things in life
that make me smile the widest,
like my dollar store drinking glasses.

xoxo - Bethany
 

Wednesday, October 31, 2012

Mountain Apple Cobbler

Happy Halloween!
I hope everyone has a safe and happy night, whether they are out and about, or at home.
I will be at home eating passing out candy and watching Nashville on ABC.
I wanted to share a treat with y'all that is To. Die. For.
Seriously, its amazing, so much so, I almost didn't get a picture of it before it was eaten up!

 (I went with the freaky font because A) It's Halloween - duh! and B) Frankly this is the prettiest food picture I've ever taken. I thought twice about posting it, but I'm just keepin' it real)

Okay, something you must know about the recipe before you read any further.
It has a weird secret ingredient.
I was skeptical. And it sounded kinda gross.
But trust me, the end result is delish!
It's Mountain Dew.
Yes, this recipe calls for one can of Mountain Dew. 
Forgive me, please.
But in my defense...this not some sort of clean eating organic foodie website.
I just post stuff that taste good to me and my man. Amen.
Okay, enough of the disclaimers...here's the recipe.

Mountain Apple Cobbler - adapted from All Recipes

Ingredients:
2 large granny smith apples pealed, cored, and cut into 8 wedges each
2 cans of crescent rolls
2 sticks (1 cup) butter, melted
1 c white sugar
1/2 c brown sugar
1 tbsp ground cinnamon
1 can of lemon lime soda (such as Mountain Dew)

Preparation:

  1. Preheat oven to 350 degrees F (175 degrees C). Grease a 9x13 inch baking dish.
  2. Unroll the crescent roll dough, and separate the sheets into individual triangles. Roll each apple wedge into a triangle of dough, and place them into the baking dish, seam sides down.
  3. Mix the melted butter, sugars, and cinnamon in a bowl, and spoon evenly over the dough-wrapped apple slices. Pour the soda over the rolls.
  4. Bake in the preheated oven until the top is browned, the apples are cooked through, and the cobbler is bubbling, 45 to 50 minutes. 
Enjoy!
 
xoxo - Bethany

Wednesday, July 18, 2012

Breakfast Room Drapes

Howdy friends! I've been busy...
24 yards of fabric plus lots of sewing equals
new breakfast room drapes!


Because we all love a good before and after...


Excuse all the crap laying around in the before picture.
 I took it back in April when we were moving in.
I'm just keeping it real.

This project was so rewarding!
Mostly because this space was in bad need of some window treatments 
 and its in the heart of the home and can be seen from multiple rooms.

Now for the details...

I loosely based my curtains off of Miss Mustard Seed's curtain tutorial
(minus the ruffle and I used actual window treatment lining whereas she used a sheet).

 I love the fabric I used! I got it at Hancock's on sale for less than $8.00 a yard.
Can't beat that!


I also love the drapery rods that were used. 
They are Allen and Roth from Lowe's.
You can find them here.

I would highly recommend them because you can pick out the finials separately.
Also, they're solid wood and thicker than most metal curtain rods, so they have a more custom feel.
Because they're wood, we bought 2 eight foot long ones and Jason cut them down to fit our bay windows.


Overall, I spent $230. 
I think that's awesome considering I bought 24 yards of fabric!
Not to mention to have the rod and drapes done professionally could have easily cost $1,000!


 Yay for custom on a budget!

-Bethany


Friday, June 15, 2012

DIY Disaster: Lampshade Saga

Warning: This is a long and wordy post. If you just want to see how my lampshade turned out, scroll to the bottom of the page,. If you want the nitty gritty details of how it all went wrong, start reading.

So as we are settling in to our new home, we are excited to be welcoming some of our family to visit this summer. I currently have 2 guest rooms, one downstairs and one upstairs.
Upstairs, I think I have everything a guest would need to be comfortable. 
Downstairs, I decided I needed to add a bedside table lamp to make our guests feel right at home.
And honestly I'm sorry I did because what ensued was one of my worst DIY disasters to date. 

Here's the story:

I decided I needed something cute yet inexpensive.
 And, if you've ever shopped for a lamp you know they can get expensive quick-quick.
So I went to Target. But I wanted something that didn't look like it was from Target.

There were definitely some cute lamps, but then I saw this.


And I thought, "Geez, it's only $16.99 and I could DIY on that shade for a custom look!"
And so it found it's way into my cart.

So I headed off the nearest Jo-Ann.
 At first I thought I would wrap a fabric on the shade to coordinate with the blue and yellow bedding, but nothing jumped out at me.
So then I was wandering the store for inspiration.
(This is dangerous for me. Usually I come to the store prepared with a plan of action. If I don't, I start to overachieve and it can get pricey. For an example...keep reading.)

Then I stumbled across these Martha Stewart stencils.


And I thought, " I can paint the lampshade with these stencils! It will be easy and so pretty!"
I even came home and took pictures to show y'all how easy and pretty was going to be.


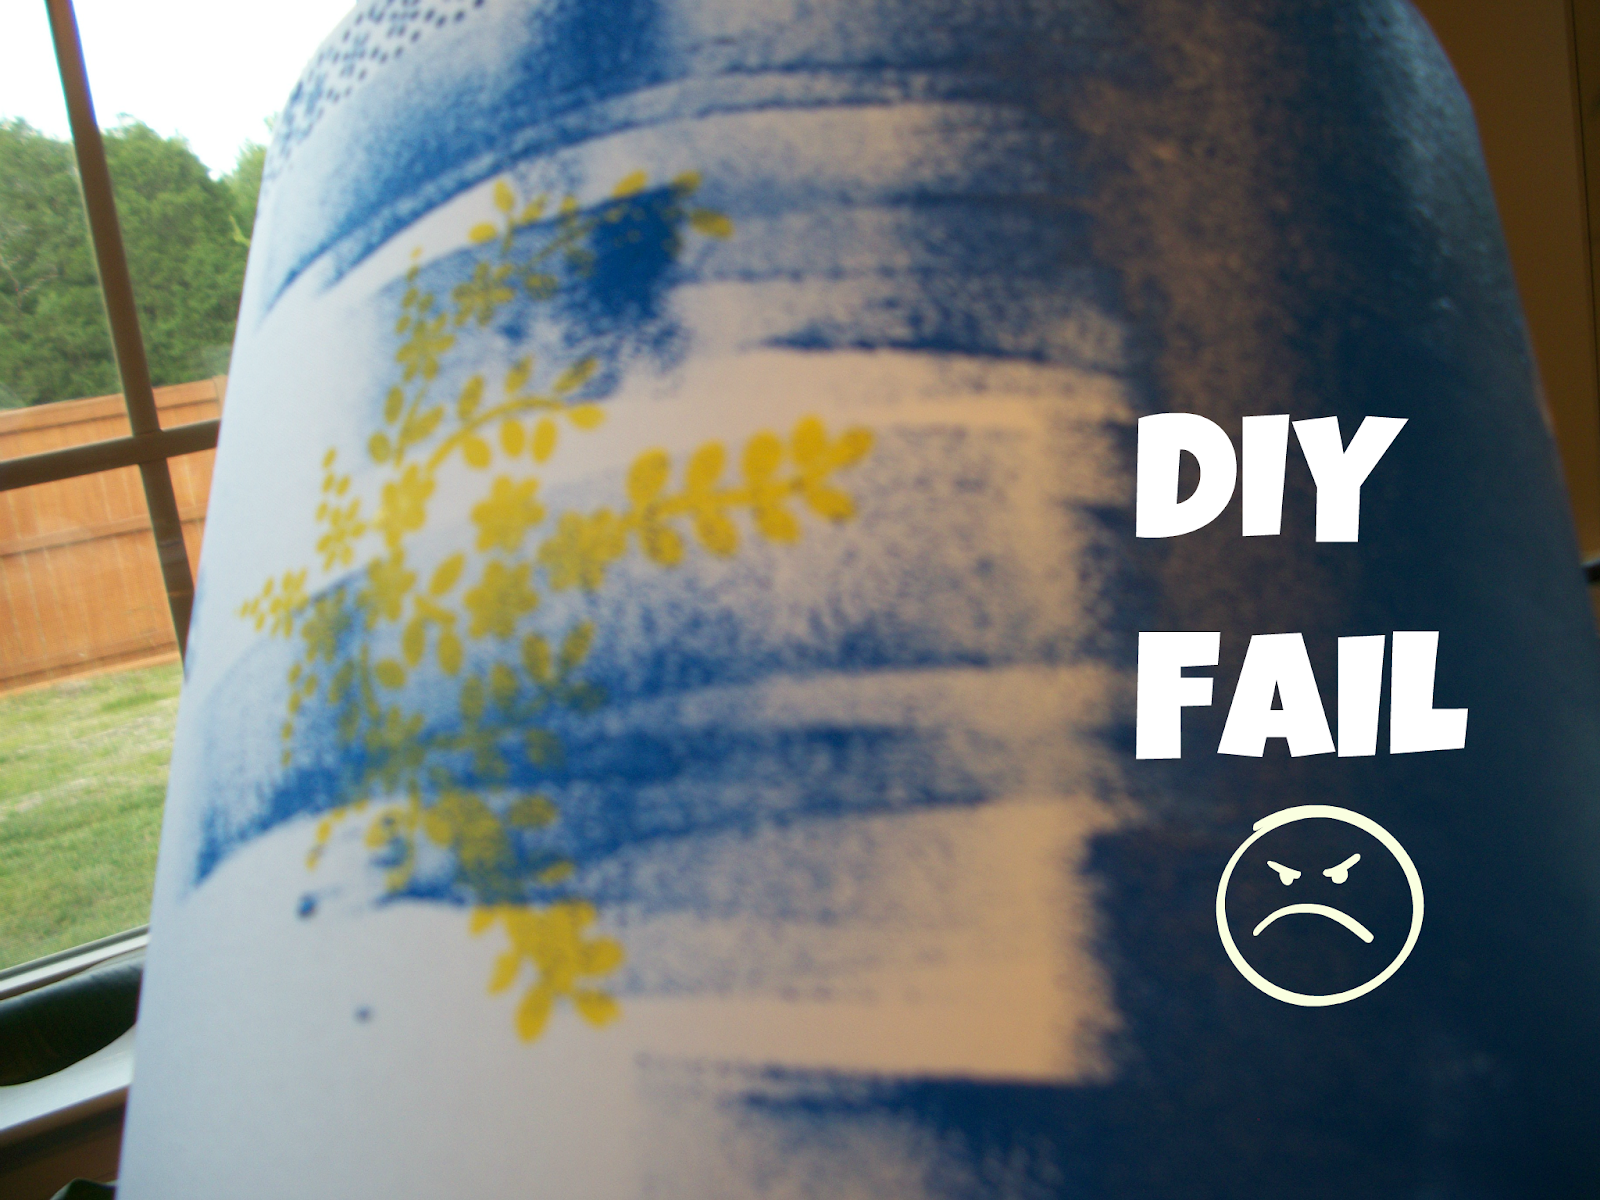
And then I messed up. :(
I smudged some paint and the stencils were hard to line up to make a continuous pattern around the shade.
And then I smudged some more paint.

And then I thought, "I can't put this crap out in my house. Maybe I can just paint it solid to try to salvage what's left of a bad situation."


And so I painted it blue. 
But it showed brush strokes and really needed a second coat but I ran out of blue paint.
And I put it on the lamp and it looked REALLY bad when I turned the lamp on.
 And then I thought, "Now I really can't put this crap out in my house." 
And proceeded to throw the damn thing away.

So then I started shopping for lamp shades.
I found this shade at Wal-Mart  but when I got it home it wouldn't fit on the lamp.
 So I returned it.

I couldn't find the size drum shade I needed for less than $20.00 
and that was more than the lamp originally cost so I couldn't do that.
 Then I read this article on Apartment Therapy.
They made a lamp shade using poster board and embroidery hoops. 
But then I thought, " I can use the metal hoops from the failed lampshade". 
And I dug it out of the garbage and ripped the hoops from the shade.

Then I got some poster board and some clothes pins and started going to town with the hot glue gun.


At this point I'm thinking, " This could actually work! I'm going back to my old idea of using fabric."
Then, I went back to Joann's.

I found some pretty yellow fabric that mimicked the design on the guest bedroom quilt and some white pom-poms (because I saw this shade at PB Teen and LOVED it but sure wasn't gonna pay $50.00).

So after I ironed it out really well,


I used spray adhesive to attach the fabric and hot glue to hold it down inside.


And hot glued on the pom-poms, using clothes pins to help hold it on until it dried.


At this point I'm thinking, "This is so stinking cute! I am a genuis!".
Until I installed that bad boy.


I glued the pom-poms on the top instead of the bottom.
I tried to rip off the pom-poms but the glue was already dry and
 I couldn't get them off without ripping up the whole shade.

So I gave the lampshade a haircut. I trimmed the pom-poms off and just left the ribbon trim on top.

By some act of Providence, I had just enough pom-poms left to go around the REAL bottom of the shade.

And this is how it turned out. Finally!

Do y'all have any DIY Disasters?

-Bethany